

2 Minute Checklist to Reuse Frying Oil Safely for Home Cooks
Cool the oil fully, then decide: if it’s light in colour, not foamy and smells fine, strain it and store it for reuse. If it’s dark, smells off or has broken down, solidify it and bin it or take it to a recycling drop-off point. Never pour frying oil down a sink or into stormwater drains.
TL;DR:
- Oil that is dark, has a rancid smell, or foams excessively should be discarded and not reused, especially if it has signaled breakdown during frying.
- Straining oil after cooling through a coarse sieve and fine filter, or clarifying with a starch slurry or gelatin, can extend its usable life if it remains clear and smells neutral.
- Using proper storage containers, like dark glass or sealed bottles in a cool, dark place, helps preserve filtered oil for reuse over several weeks, but it should be discarded if quality deteriorates.
- Avoid pouring hot or used oil down drains; instead, solidify it with absorbents or take it to authorized recycling centers for environmentally safe disposal.
- Frequent checks for color, smell, foaming, and taste of fried foods help determine if oil is still fit for cooking or requires replacement.
Table of Contents
- Quick checklist to decide whether to clean and reuse or throw away
- Step-by-step cleaning methods: skimming, straining, filtering and clarifying
- How to judge oil quality and how many times you can reuse it
- How to store cleaned oil safely and extend its usable life
- Solidify, bin or recycle: safe disposal options for spent oil
- Practical frying tips that cut down on oil mess
- A short honest note on post-fry cleanup
- Why a reliable baking mix makes cleaner frying easier
- FAQ
- Sources
Quick checklist to decide whether to clean and reuse or throw away
Before doing anything with used frying oil, run through a short check. This takes two minutes and saves either good oil going to waste or spoiled oil ruining your next batch of food.
- Let the oil cool completely before touching it. Hot oil burns and moves faster than you expect.
- Look at the colour. Pale gold or light amber usually means the oil has plenty of life left.
- Check for foam on the surface while it was still hot. Persistent foaming is a sign the oil is breaking down.
- Smell it. Fresh-ish oil smells neutral or faintly like whatever you cooked; rancid or “off” smells mean it’s spent.
- Think about what you fried. Plain items like chips leave little residue, but battered fish or dough leave crumbs and starch that cloud the oil faster.
- If you’re keeping it, scoop out any large solids straight away and transfer the oil to a sealed, heatproof container.
A quick visual and smell test catches most problems. Oil that passes all four checks is worth straining and keeping. Oil that fails even one, especially the smell test, isn’t worth the effort of cleaning.
Pro Tip: Keep a wide-mouthed jar with a lid next to your stove during fry sessions. Pouring straight from pan to jar while the oil is still warm (not hot) makes straining later much easier.

Step-by-step cleaning methods: skimming, straining, filtering and clarifying
The method you choose depends on how dirty the oil is and how much effort you want to put in. Most home cooks only need the first two steps.
- Skim while frying. Use a fine mesh spider or slotted spoon to lift out crumbs and batter bits as they float up, rather than letting them sit and burn. This single habit does more to extend oil life than any cleanup step afterwards, since burnt particles speed up oil breakdown the longer they stay in the pot, a point echoed in fryer-care guidance aimed at commercial kitchens.
- Strain once cooled. Pour the oil through a coarse sieve first to catch big debris, then through a fine mesh strainer, then line that mesh with a paper coffee filter or a few layers of cheesecloth for the final pass. Food Network’s guidance recommends repeating the fine filter step if the oil still looks cloudy after the first pass.
- Try a cornstarch slurry for cloudy oil. Mix a small amount of cornstarch with cold water, stir it into the cooled oil, then heat gently until the starch clumps and settles, taking fine sediment with it. Strain once more afterwards.
- Use gelatin clarification for oil that won’t clear. Dissolve plain powdered gelatin in a little water, stir it through the cooled oil, then refrigerate until the gelatin sets with the trapped particles. Pour off the clarified oil on top and discard the gelled layer. Because this method adds water to the oil, reheat it slowly and watch for splattering before frying again, a caution the Palmerston North City Council recycling page also flags for anyone trying this at home.
- Use an oil hardener or absorbent for oil you’re throwing out. Commercial oil solidifiers or even used coffee grounds turn liquid oil into a solid block, which makes it safe to drop straight into general rubbish.
Skimming during frying and straining soon after cooling does more for oil quality than any rescue method tried later. Oil left sitting with sediment in it for days keeps breaking down even in the fridge, so the window for an easy clean-up closes faster than most people expect.
Pro Tip: If you only have one strainer, line it with a paper towel instead of buying special filters. It works almost as well for home-batch quantities.
How to judge oil quality and how many times you can reuse it
Clean-looking oil isn’t always good oil. Chemical breakdown happens even after you’ve filtered out every visible crumb, so a few extra checks matter.
- Persistent dark colour that doesn’t lift after straining usually means the oil has oxidised, not just picked up food particles.
- Foaming that won’t settle, especially foam that appears as soon as you reheat the oil, points to degraded fat molecules.
- A rancid, sharp or “crayon-like” smell is one of the clearest signs oil is done, regardless of how clear it looks.
- A lower smoke point than usual, where the oil starts smoking well before it reaches frying temperature, means it has broken down structurally.
- The small fry test: heat a tablespoon of the strained oil and fry a small piece of plain bread. If it tastes clean and the oil doesn’t smoke early, it’s good to go again. If the bread tastes off or the oil smokes immediately, bin it.
As a rough guide, plain foods like chips or potato wedges are gentle on oil and can often be fried in the same batch several times. Battered, crumbed or dough-based foods, including fried bread and doughnuts, shed more starch and crumb into the oil, so they wear it out faster and support fewer reuse cycles before the oil needs replacing.
How to store cleaned oil safely and extend its usable life
Good filtering is wasted if the oil is stored badly afterwards. A few simple habits keep reused oil tasting clean for longer.
- Use an airtight container, ideally dark glass or the oil’s original bottle, rather than an open jar or bowl.
- Avoid metal tins for long-term storage, since some metals can react with oil and affect flavour over time.
- Label the container with the date and what you fried in it, so you know when to retire it and avoid mixing oils used for very different foods.
- Store in the fridge if you fry occasionally, or in a cool, dark pantry if you fry often and go through oil quickly; heat and light both speed up spoilage.
- Keep the lid sealed between uses and never add fresh raw food juices or water to a storage container, since moisture encourages the oil to turn rancid faster.
Oil stored this way typically stays usable for a few weeks in the fridge, though the small fry test is still the best final check before you commit it to a new batch.
Solidify, bin or recycle: safe disposal options for spent oil
Once oil fails the quality checks, the next question is how to get rid of it without creating a mess or a blockage. The approach differs slightly depending on quantity.
- Cool it completely first, every time, before moving or pouring it anywhere.
- For small amounts, absorb the oil with an oil hardener, cat litter or a few paper towels, then seal it in a non-recyclable container, such as the original bottle or a sealed bag, and put it in general rubbish. Auckland Council’s guidance notes that household quantities under 500 millilitres can go into a sealed, non-recyclable container when there’s no food-scraps bin available.
- For larger amounts, take the sealed container to a local recycling centre or transfer station that accepts household cooking oil. Palmerston North City Council runs a free drop-off for household oil at its Ferguson Street site, where it’s converted into biofuel, and similar services exist through private collectors such as Otago Vacuum Tank Services, which handles both household and commercial collection depending on volume.
- Check what’s available locally, since drop-off services and kerbside rules vary by council and region.
Never pour oil down the sink. It might look like it washes away, but Auckland Council explains that hot fat solidifies as it cools inside pipes, and running hot water or detergent afterwards doesn’t stop this. It just pushes the problem further down the line, where it can cause blockages and sewer overflows.
Practical frying tips that cut down on oil mess
A big part of easy clean-up starts before the oil ever gets dirty. When testing recipes for cooked donuts and other fried doughs, a consistent mix matters just as much as the frying technique, since an even batter sheds less loose flour and fewer stray crumbs into the oil as it cooks.
A few habits help specifically with dough-based frying: keep the oil temperature steady rather than letting it spike and smoke, lower pieces in gently instead of dropping them from height, and skim crumbs out between batches rather than waiting until the end. We share more of these techniques, along with step-by-step frying guidance, through our recipes on the Missy Lala site.

A short honest note on post-fry cleanup
A straightforward routine after frying is to cool the oil, skim and strain it while it’s still workable, then either label and store it or solidify it for disposal. The mistake we see people make most is pouring warm oil straight down the sink because it feels quicker. One small habit that helps more than it should: line your sieve with cloth before you even start frying, so it’s ready the moment the oil cools.
— Jasmin
Why a reliable baking mix makes cleaner frying easier
Fewer surprises in the batter mean fewer surprises in the oil. Our Cook Islands Donut Baking Mix only needs water and oil, which keeps the texture consistent batch after batch and cuts down on the loose crumbs and stray bits that cloud oil faster than clean frying does.
- The 250g mix suits a single trial batch if you’re frying donuts for the first time.
- The 650g mix covers a full family frying session without needing a second packet.
- The 1300g mix works well for larger gatherings where you’re frying in several rounds.
- For a gathering with more than one treat on the table, the Island Memories Bundle brings together everything needed for a family baking session in one order.
If you’re also trying to use up ingredients before a big frying session, this guide to wasting less food has practical tips worth pairing with the oil habits above.
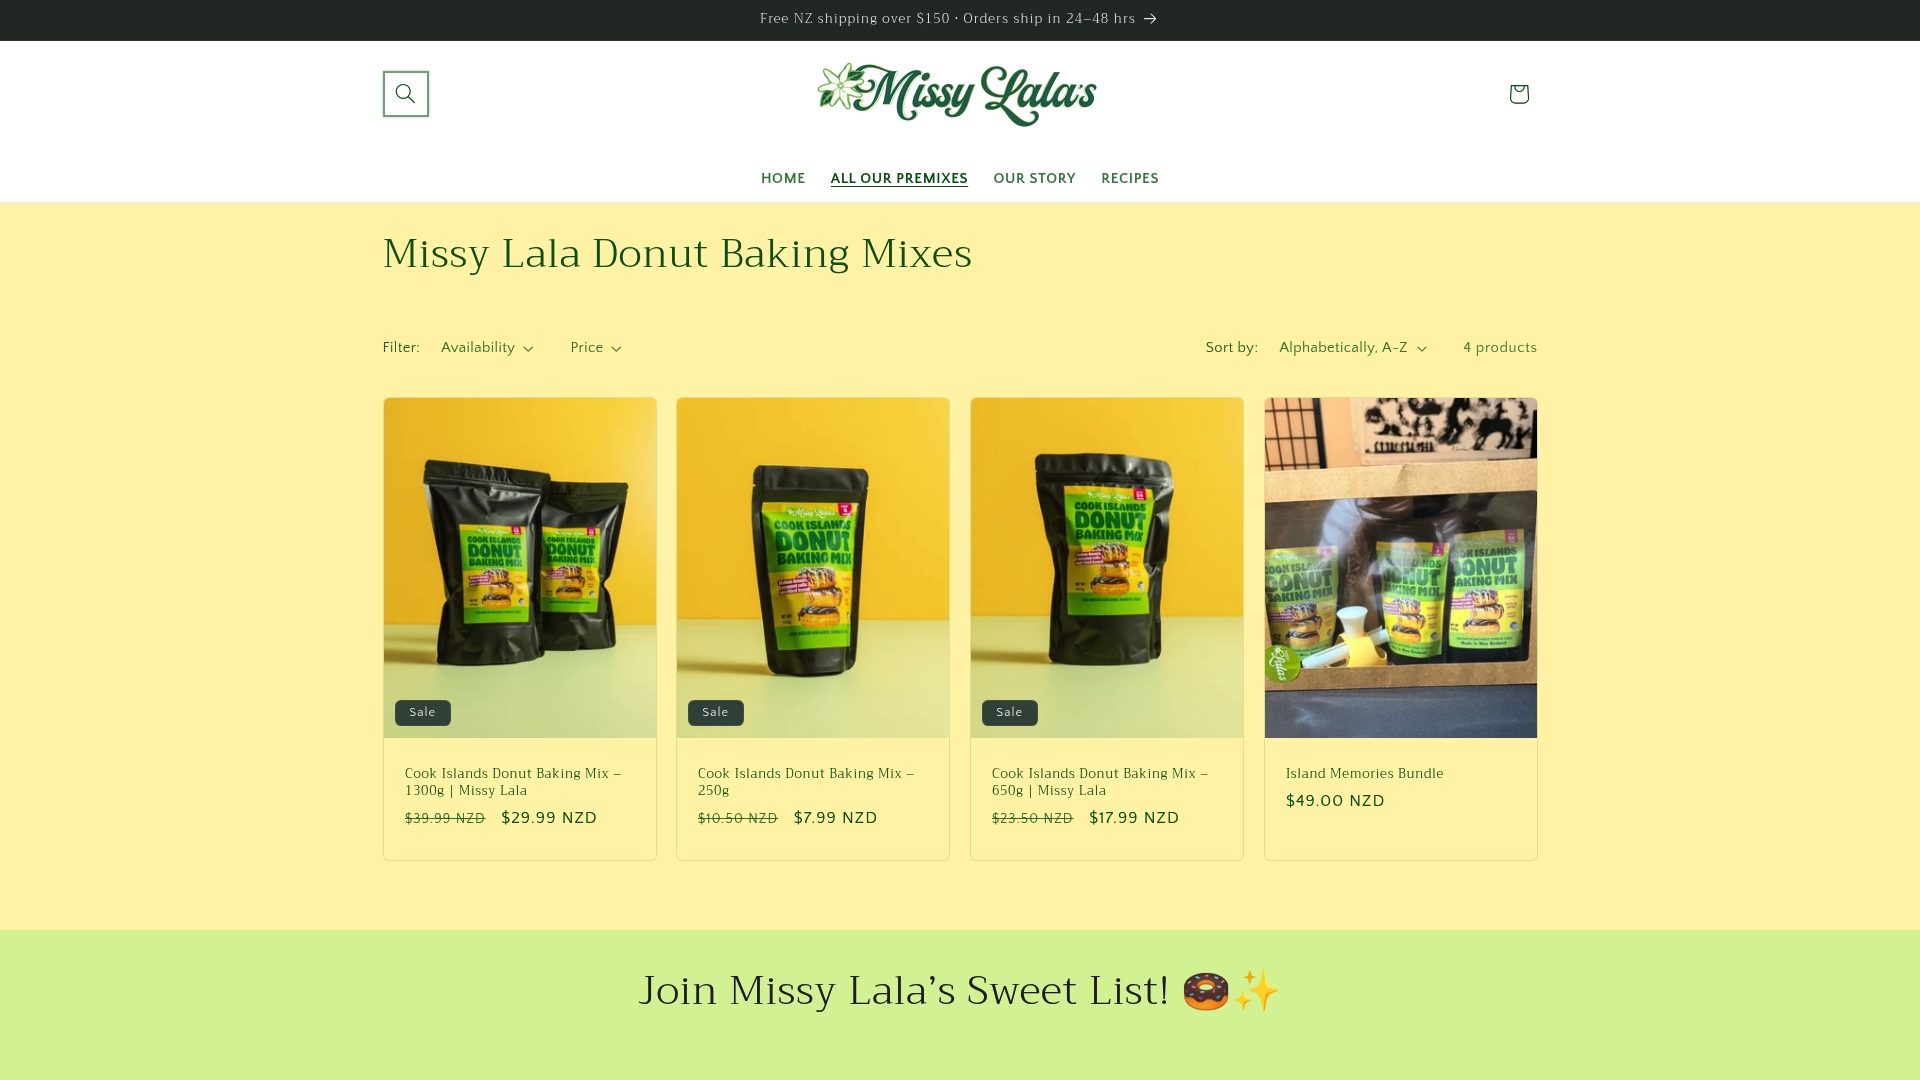
Browse the full Cook Islands Donut Baking Mix range to find the size that suits your next frying session.
FAQ
How do I clean dirty frying oil?
Let the oil cool fully, then strain it through a coarse sieve followed by a fine mesh lined with a paper filter or cloth. For cloudy oil that won’t clear, a cornstarch slurry or a gelatin clarification step, as described by Palmerston North City Council, can pull out fine sediment.
Does baking soda clean up oil?
Baking soda isn’t a standard method for clarifying frying oil itself. It’s more commonly used to neutralise oil spills on benchtops or floors by absorbing the liquid before wiping it away, which is a different job to filtering oil for reuse.
Can I dump fryer oil down the drain?
No. Auckland Council’s guidance explains that fat solidifies inside pipes as it cools, and hot water or detergent won’t stop blockages forming further down the line. Cool and solidify the oil instead, then bin it or take it to a recycling drop-off.
What dissolves burnt on cooking oil?
For burnt residue stuck to a pan rather than the oil itself, a soak in hot water with dish soap followed by a scrub usually lifts it, and a baking soda paste helps with stubborn patches. For the oil, straining and filtering removes burnt crumbs, but it won’t reverse oil that has chemically broken down from overheating.
Sources
For council-specific rules and recycling options, check your own local authority alongside general guidance such as the sources below. Availability of drop-off points and kerbside collection varies by region.
- Auckland Council — sewage & wastewater disposal (food business guidance)
- Palmerston North City Council — cooking oil recycling
- Food Network — How to dispose of cooking oil
- Otago Vacuum Tank Services — used cooking oil collection


