

Two Dozen Mini Donuts Recipe: Baked, Fried, or Donut Maker Tested
Baked mini donuts win on speed, cake-style fried donuts win on that classic chewy crust, and yeast-raised fried minis win on authentic bakery texture, though they demand a proof. A mini donut maker splits the difference: no oil, no oven pan, just batter and a calibration run. Whichever way you go, a standard batch yields about two dozen minis and they taste best eaten the same day. Below are all three recipes, plus a mix-based shortcut if you’d rather skip the flour measuring altogether.
TL;DR:
- Using a calibration batch is essential to determine the exact timing and batter fill level for your specific oven or appliance, reducing common issues like density or uneven doneness.
- Baking a batch takes about 6 to 9 minutes at 218°C, while frying cake-style donuts requires heating oil to 180°C and frying for about 60 to 90 seconds per side.
- A mini donut maker requires a thick, pancake-style batter, and each batch typically involves three to four rounds to produce about two dozen donuts.
- Mini donuts are best served on the same day due to their high surface area, which causes them to stale quickly; proper cooling and storage help prolong freshness.
- A ready-made mix simplifies the process by only requiring water and oil, ensuring consistent ratios and reducing the chance of baking errors.
Table of Contents
- Mini donuts recipe: ingredients and tools you’ll need
- How do you bake mini donuts in a pan?
- How do you fry mini donuts at home?
- Can you use a mini donut maker instead?
- Why do mini donuts go stale so fast?
- What are the best mini donut toppings and flavours?
- Using Missy Lala’s Cook Islands Donut Baking Mix in these recipes
- What the recipes don’t tell you
- A shortcut worth keeping in the pantry
- Sources
- FAQ
Mini donuts recipe: ingredients and tools you’ll need
Before you touch a bowl, sort your ingredients by method. Baked and fried cake donuts share a similar base; yeast donuts need their own kit.
Baked or cake-style batter:
- Cake flour (lighter crumb) or all-purpose flour, plus baking powder and a pinch of salt
- Caster sugar, nutmeg or cinnamon for warmth
- Buttermilk or full-cream milk, one egg, melted butter or a neutral oil
Yeast-raised dough:
- Active dry yeast, warm milk, eggs, softened butter
- Bread flour or a brioche-style flour blend for stretch
Tools that actually matter:
- A mini-donut baking pan (silicone or non-stick metal), or a mini donut maker appliance
- A deep, heavy pot for frying with a clip-on candy thermometer
- A rolling pin and two round cutters, roughly 4.5 cm and 1.75 cm, for cutting rings
- A piping bag for portioning batter cleanly into cavities, which helps stop overmixing since you’re not stirring the batter again to spoon it in
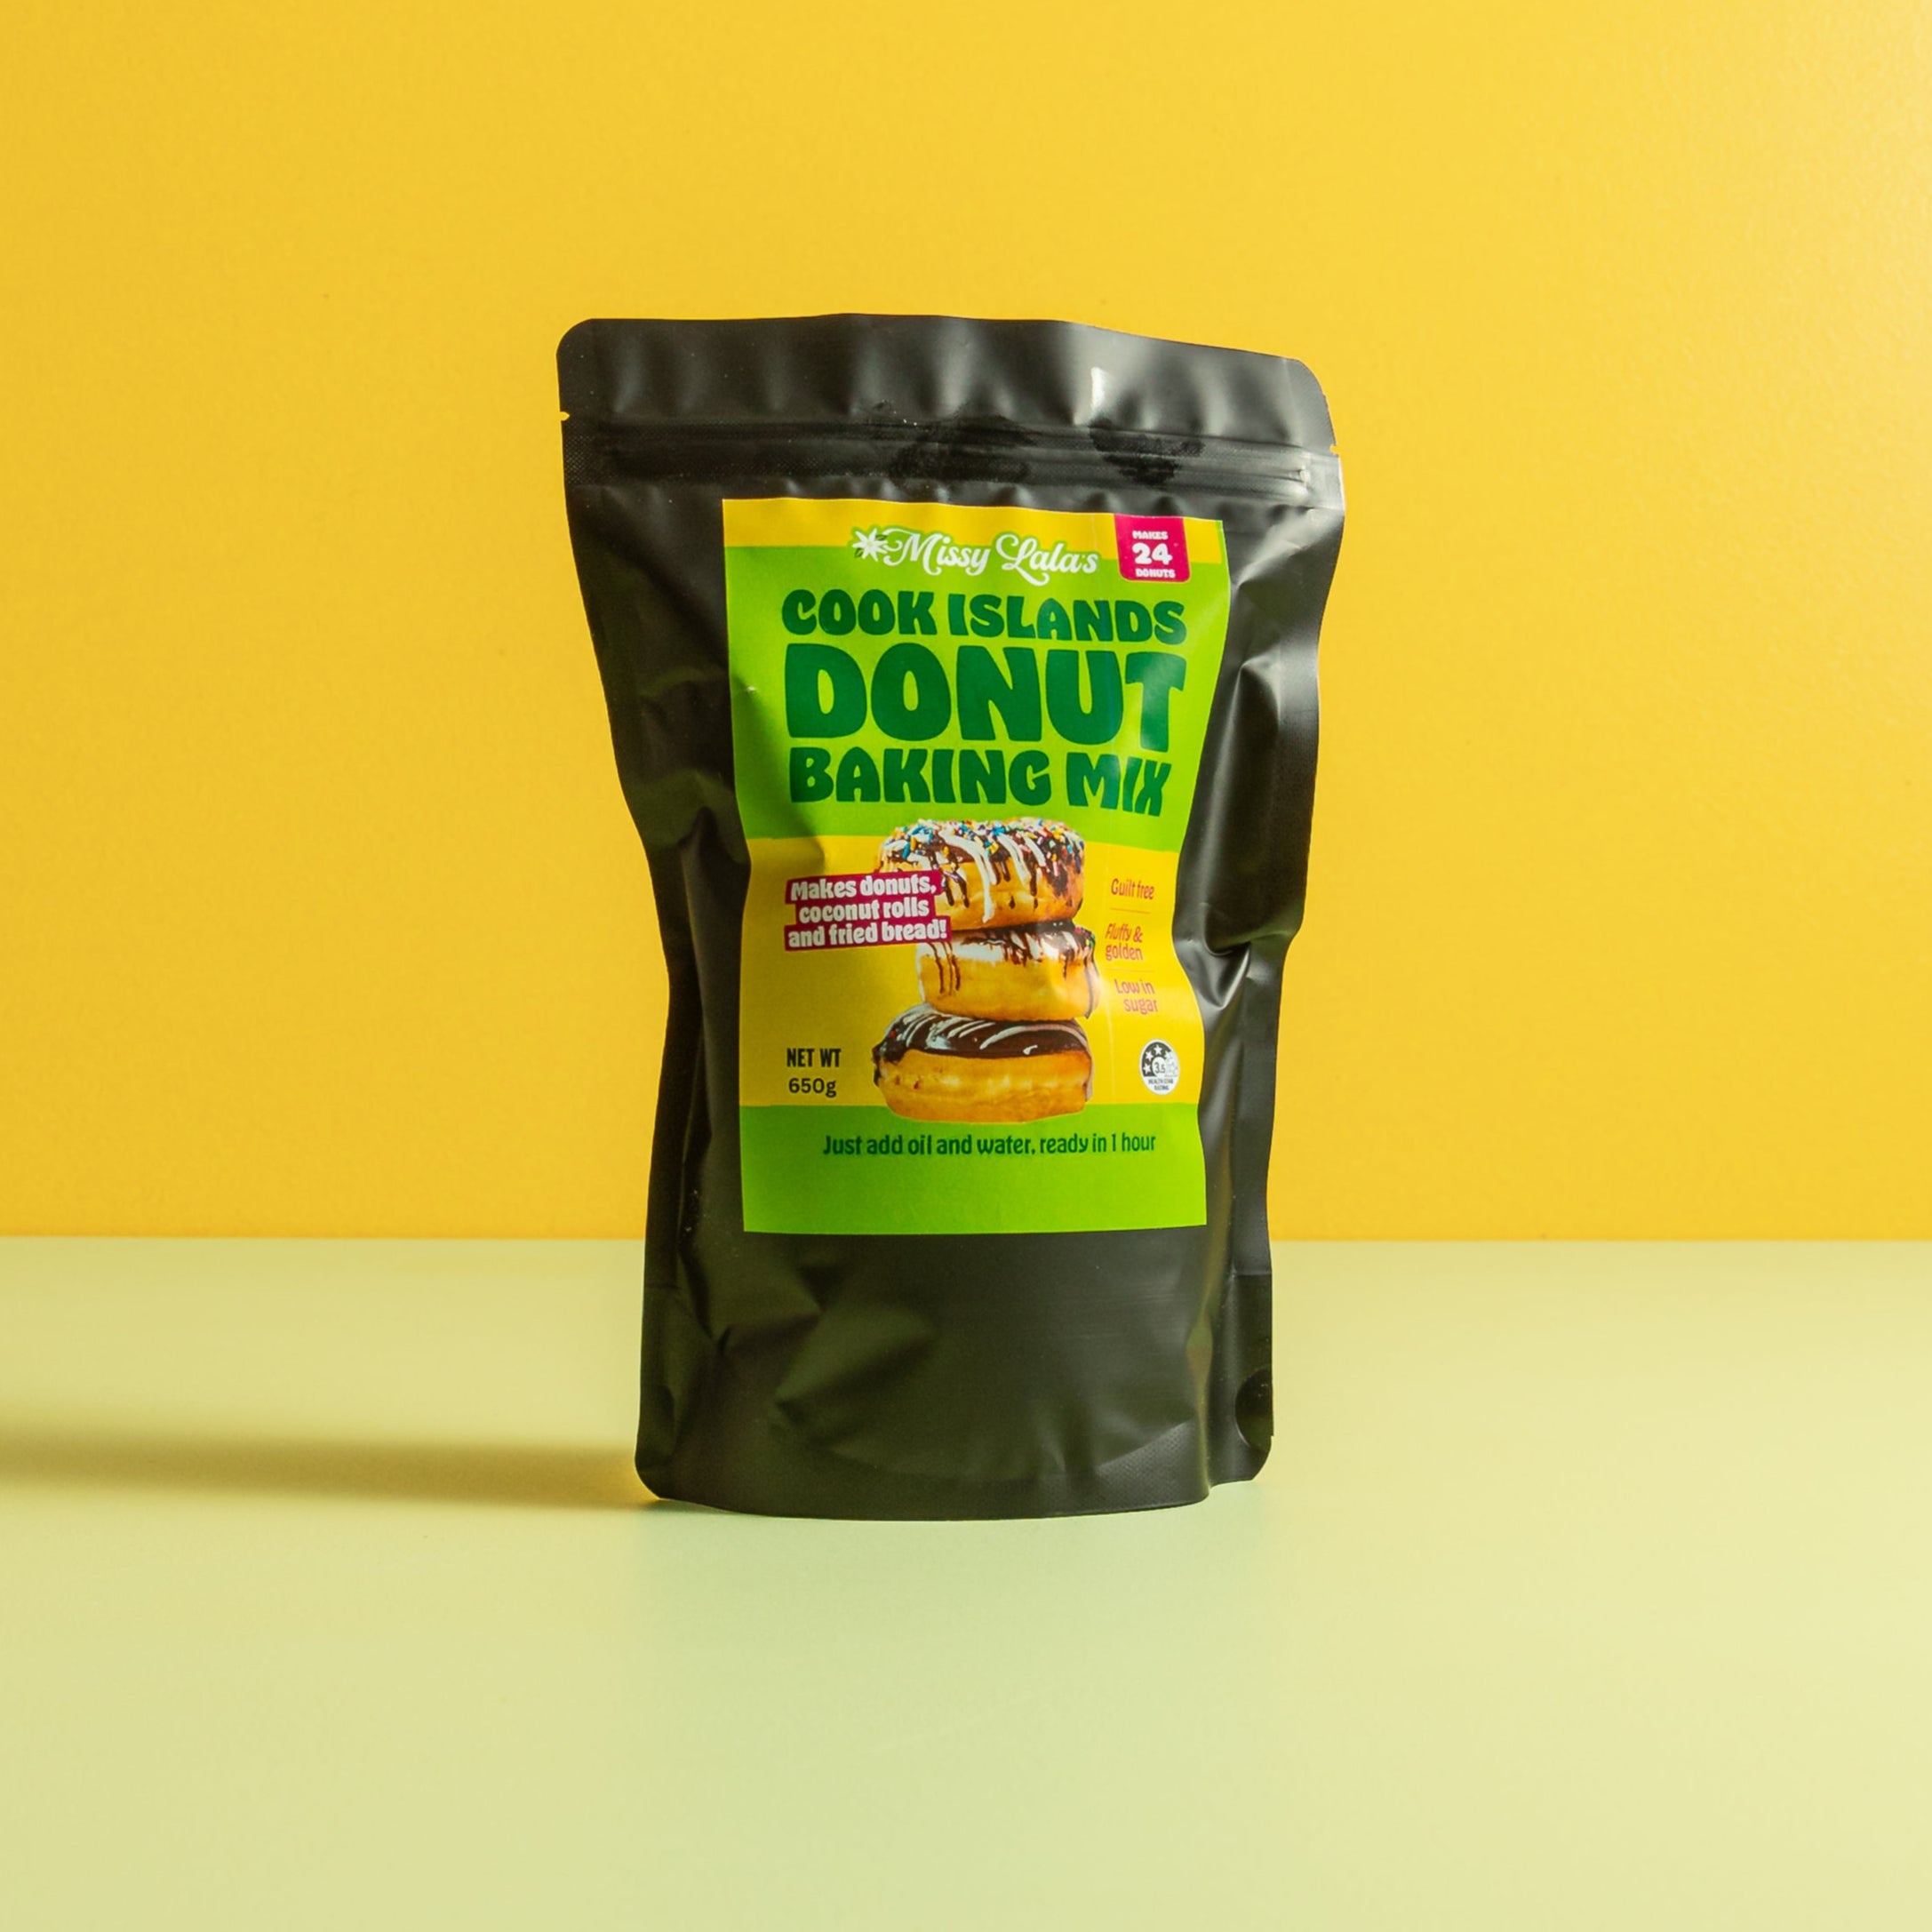
If measuring and swapping flours isn’t your idea of a good Saturday, the Cook Islands Donut Baking Mix replaces most of that list. You add water and oil in the ratio printed on the pack, and the mix handles the flour, sugar, and leavening balance for you.
How do you bake mini donuts in a pan?
Baked mini donuts are the fastest route from bench to plate, and the Wilton method is a reliable starting formula: 1 cupcake flour, ⅓ cup sugar, 1 teaspoon baking powder, ¼ teaspoon salt, ⅛ teaspoon nutmeg, ⅓ cup buttermilk, 1 egg, and 1 tablespoon melted butter.
- Preheat your oven to 218°C (425°F) for a Wilton-style pan, or 175 to 200°C if you’re using a different brand of mini-donut tin.
- Whisk dry ingredients in one bowl, wet in another, then fold together just until no dry streaks remain. A few lumps are fine.
- Grease the pan cavities even if the label says non-stick. Sticking is one of the most common baked-donut failures, and a light spray solves it.
- Pipe batter into each cavity, filling half to three-quarters full depending on how deep your cavities are.
- Bake 6 to 9 minutes, checking at the low end first. Donuts are done when they spring back to a light touch or a toothpick comes out clean.
- Cool 3 minutes in the pan before turning out onto a rack.
Run your first tray as a test batch. Pan depths and oven strength vary enough that a short calibration run is genuinely the fastest way to nail fill level and timing on your specific equipment, rather than guessing from someone else’s oven.
Once cooled, roll warm donuts through cinnamon sugar, dust with powdered sugar, or dip tops into a simple vanilla or chocolate glaze (icing sugar, a splash of milk, and vanilla or cocoa whisked smooth).
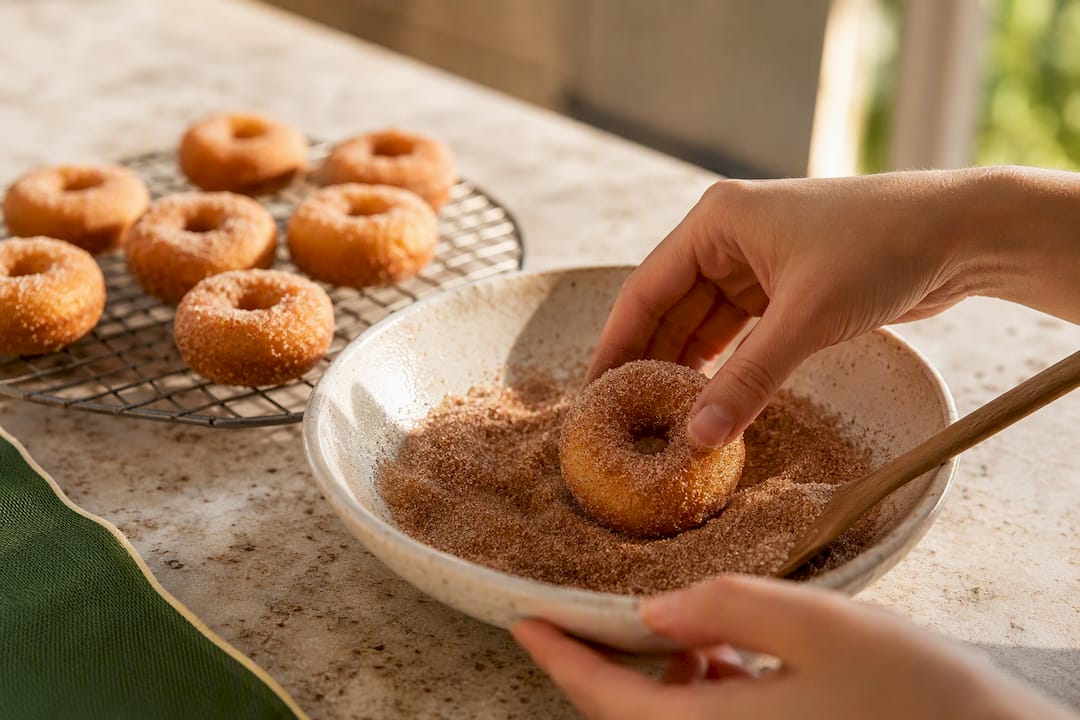
Pro Tip: Glaze donuts while they’re still slightly warm. The glaze sets into a thin shell instead of pooling, and it grips better than on a fully cooled donut.
The biggest mistakes are overfilling (donuts spill over and fuse together) and skipping the grease (donuts tear on release). Both are fixable on your next batch once you’ve seen how your pan behaves.
How do you fry mini donuts at home?
Frying gives you two distinct textures worth knowing: a fast cake-style fritter, or a slower yeast-raised brioche donut with real chew.
Cake-style fried minis:
- Heat 5 to 8 cm of oil in a deep, heavy pot to 180°C (350°F). Refined coconut oil works well for a neutral smell while frying, an approach Serious Eats uses for its cake-style Donettes.
- Drop small spoonfuls of thick cake batter directly into the oil, a few at a time.
- Fry 60 to 90 seconds per side until deep golden.
- Lift out with a slotted spoon and drain on a wire rack, not paper towel, which keeps the crust crisp instead of steaming it soft.
- Toss warm in cinnamon sugar or dip in glaze once just cool enough to handle.
Yeast-raised brioche minis:
- Mix a brioche-style dough with yeast, milk, eggs, and butter, then knead until smooth and elastic.
- Proof overnight in the fridge, or for 1 to 2 hours in a warm spot if you’re short on time. The overnight cold proof from Cloudy Kitchen separates the heavy prep from the frying, so your actual cooking session is quick.
- Roll to about 1 cm thick, cut rings with a 4.5 cm cutter, and let cut rings proof again until visibly puffy, roughly 30 to 45 minutes.
- Fry at 180°C for around 60 to 90 seconds per side, testing one donut first to confirm timing before committing the rest of the batch.
Frying deserves genuine caution. Use a deep, stable pot, keep your thermometer visible at all times, and never leave hot oil unattended even for a minute. Fry in small batches of four to six so the oil temperature doesn’t crash, which is the main cause of greasy, undercooked centres. If a test donut is raw inside but browning too fast outside, drop the oil temperature by about 10 degrees and fry the next batch slightly longer.
Can you use a mini donut maker instead?
A mini donut maker skips oil and oven altogether. You need a thick, pancake-style batter, similar viscosity to a slow-pour cake batter, with a few visible bubbles on the surface once mixed.
- Fill each cavity about two-thirds full using a piping bag or squeeze bottle for a neat edge.
- Preheat the appliance fully before your first pour, then run one cavity as a test to check timing.
- Published guidance for mini donut makers points to roughly 2 to 5 minutes per batch, but every appliance model differs enough that your own test run is the only figure worth trusting.
- Grease cavities lightly between batches even on non-stick models, and wipe the plates down while they’re still slightly warm for the easiest clean-up.
Most home mini donut makers cycle six donuts at a time, so a full batch of two dozen means three to four rounds. Once you’ve calibrated the first cycle, every batch after that is close to hands-off.
Why do mini donuts go stale so fast?
Mini donuts have far more surface area relative to their size than a full donut, so they dry out noticeably faster. Serve them the same day you make them where you can.
- Cool completely before sealing; trapped warmth turns into condensation and soggy patches.
- Store in an airtight container at room temperature for a day, or the fridge for up to three.
- Freeze unglazed donuts for longer storage, then refresh in a warm oven for a few minutes before glazing.
- Reheat with a short 5 minute blast in a 150°C oven, or 10 to 15 seconds in the microwave, to bring back that just-baked softness.
If your batch turned out dense, you likely overmixed the batter. Greasy donuts usually mean the oil was too cool when they went in. Sticky glaze that won’t set means the donuts weren’t cool enough before dipping.
Pro Tip: Keep a spare batch unglazed in the freezer. Bare donuts freeze and reheat far better than glazed ones, which can turn tacky once thawed.
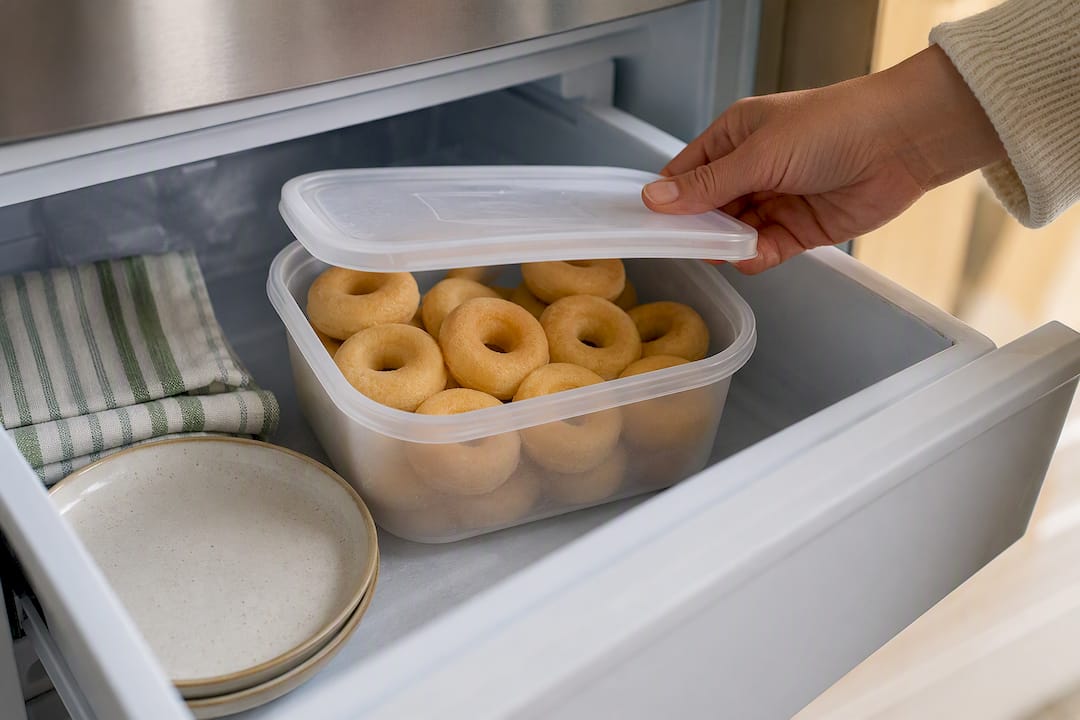
For more on keeping a whole batch fresh overnight, see this storage guide.
What are the best mini donut toppings and flavours?
Once your base recipe is sorted, toppings are where mini donuts earn their party reputation.
- Classics: cinnamon sugar, powdered sugar, vanilla glaze, chocolate glaze
- Fruit and spice: freeze-dried strawberry or raspberry powder whisked into glaze, a pinch of matcha, chai spice mix, fresh citrus zest folded into batter
- Party finishes: rainbow sprinkles pressed on while glaze is wet, a salted caramel drizzle over chocolate glaze, or filled minis piped with jam or custard through a small hole
Mix and match across a single batch and you’ll get a platter that looks like it came from three different bakers.
Using Missy Lala’s Cook Islands Donut Baking Mix in these recipes
Every recipe above works with from-scratch ingredients, and it also works with a shortcut. The Cook Islands Donut Baking Mix is built around one idea: water and oil are the only additions needed, so the flour ratio, sugar balance and leavening are already sorted in the bag.
A baking mix that only asks for water and oil removes the single biggest variable in mini-donut baking: whether your dry-to-wet ratio is right. That’s usually where a first attempt goes wrong, not the oven or the pan.
To swap it into any of the recipes above, replace the dry ingredient list with the mix, then follow the pack ratio for water and oil in place of milk, egg, and butter. It bakes, fries, and pipes into a mini donut maker the same way a from-scratch batter does. For more on getting bakery-style results from a mix, see these seven tips and the background on Cook Islands donuts themselves.
Author Jasmin covers island baking traditions and practical mix substitutions for Missylala’s recipe blog.
What the recipes don’t tell you
Most mini donut guides treat baked, fried, and appliance methods as competing options, as if you have to pick a side. That’s the wrong frame. The real decision point is time available, not skill. A yeast dough left overnight costs you almost nothing in effort because the hard work happens while you sleep. A baked batch costs you fifteen minutes flat, full stop, with no texture upside over frying.
Where most home bakers actually go wrong isn’t technique, it’s skipping the calibration batch. Every pan, every appliance, every oven runs slightly differently, and the first tray you bake or fry should be treated as a test, not the batch you’re serving guests. That one habit fixes more “dense” and “greasy” complaints than any ingredient swap.
If there’s one thing worth prioritising above all else, it’s this: decide on texture first, method second. Want authentic chew? Go yeast. Want something on the table in under an hour? Bake. Everything else, glaze, toppings, flavour, is decoration on a decision you’ve already made.
— Jasmin
A shortcut worth keeping in the pantry
A baking mix that only needs water and oil added provides a shortcut compared to measuring out each ingredient from scratch. For families wanting soft, authentic island-style donuts without measuring multiple ingredients, this simplifies the process.
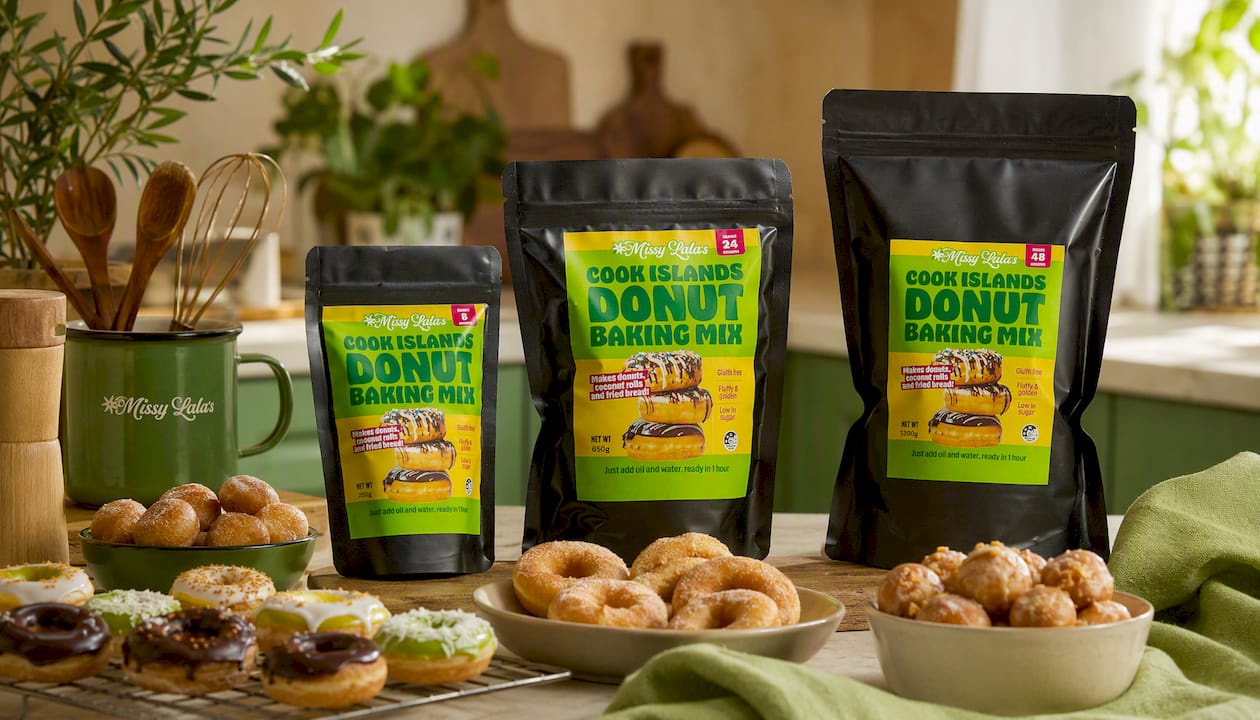
The mix comes in three sizes depending on how often you bake. Try the 250g pack for a first test batch, step up to the 650g pack for regular family baking, or go straight to the 1300g pack if you’re baking for an event or a big gathering. Any of the recipes above work with the mix in place of the dry ingredient list, whether you’re baking in a pan, frying, or running a mini donut maker.
Browse the full range and pick the size that matches how often mini donuts turn up in your kitchen.
Sources
- Baked mini donut recipe | Wilton blog
- Homemade mini donuts (+ video tutorial) | Cloudy Kitchen
- Chocolate-glazed baked mini donuts technique | Pinch of Yum
- DIY Donettes (mini sugar-coated doughnuts) | Serious Eats
- Mini donuts — calibration and appliance notes | Viola Recipes
FAQ
What are the ingredients of mini donuts?
Baked and cake-style mini donuts need flour, sugar, baking powder, salt, milk or buttermilk, egg, and butter or oil. Yeast-raised versions swap baking powder for active dry yeast and use a richer, brioche-style flour and butter ratio. A baking mix condenses all of that down to just water and oil.
How do you make the best mini donuts?
The best results come from not overmixing your batter, which keeps the crumb light instead of dense, and running a calibration batch on your specific pan or appliance before committing a full tray. Glaze or coat donuts while they’re still slightly warm for the best finish.
Can you bake mini donuts instead of frying?
Yes, baking is the faster and lower-mess option, using a mini-donut pan at around 218°C for 6 to 9 minutes depending on your oven and pan depth. You lose the crisp fried edge, but gain speed and a lighter overall texture.
How do I make donut batter for a mini donut maker?
Use a thick, pancake-style batter with a smooth, pourable consistency and a few visible bubbles once mixed. Fill cavities about two-thirds full, and treat your first cycle as a test run since cook times vary by appliance model.


