

One Dough, Three Fillings: Make Bakery Quality Filled Donuts at Home
You can make light, bakery-style filled donuts at home using an enriched yeast dough or a trusted baking mix. The process covers one reliable dough, three stable filling families (custard, jam, whipped cream), and simple tools like a piping bag or injector. With a thermometer, a rolling pin, and about three hours including proofing, you’ll pull warm, filled donuts from your own kitchen.
TL;DR:
- Using cold, overnight-proofed dough makes shaping and filling easier, while ensuring a lighter texture and more developed flavor.
- Consistent dough portions around 70 grams and proper proofing are crucial to prevent uneven frying, undercooking, or dough collapse.
- Filling donuts after frying with a deep pocket and proper tool, like a piping bag with a Bismarck tip, ensures more even distribution and presentation.
- Maintaining oil temperature between 165°C and 175°C is key to avoiding greasy or underdone donuts; testing with a small dough piece helps.
- Store filled donuts refrigerated and best eaten within a few days, as fillings like custard and crème légère are perishable, but they freeze well before filling.
Table of Contents
- What you need for filled donuts at home
- The basic enriched dough recipe for filled donuts
- How do you shape, proof and fry donuts?
- Best fillings for donuts: custard, jam and whipped cream
- What’s the best tool for filling donuts?
- Common problems when making filled donuts (and fixes)
- How to store and reheat filled donuts
- Who’s behind this guide and how Missy Lala helps
- Why filling your own donuts is worth the effort
- Skip the measuring with Missy Lala’s donut mix
- Where this guide’s techniques come from
- Sources
- FAQ
What you need for filled donuts at home
Before you touch flour, get your shopping list straight. Enriched donut dough needs strong bread flour (it handles the fat and sugar better than plain flour), whole milk, eggs, a decent block of butter, instant yeast, sugar, and salt. Fillings need their own ingredients on top: egg yolks and cornstarch for custard, good-quality jam or preserves, and heavy cream if you’re going the crème légère route.
Here’s what fills the shopping trolley for a full batch of a dozen filled donuts:
- Dough: 500g bread flour, 65g sugar, 7g instant yeast, 8g salt, 2 eggs, 180ml whole milk, 60g softened butter
- Custard filling: 500ml milk, 4 egg yolks, 100g sugar, 40g cornstarch, 1 vanilla pod (or 2 teaspoons extract)
- Jam filling: 250g thick preserves (raspberry or apricot work well)
- Crème légère: the custard batch above, folded with 200ml whipped cream
- Frying oil: neutral oil like canola or rice bran, enough to submerge donuts (roughly 1.5 litres in a medium pot)
On tools, a stand mixer with a dough hook saves your arms but isn’t essential. You do want a kitchen thermometer for the oil, and either a piping bag with a Bismarck tip or a cream injector for filling. A rolling pin for shaping dough, like the Easy Roll stainless steel rolling pin, keeps your dough thickness even, which matters more than people expect for consistent frying.
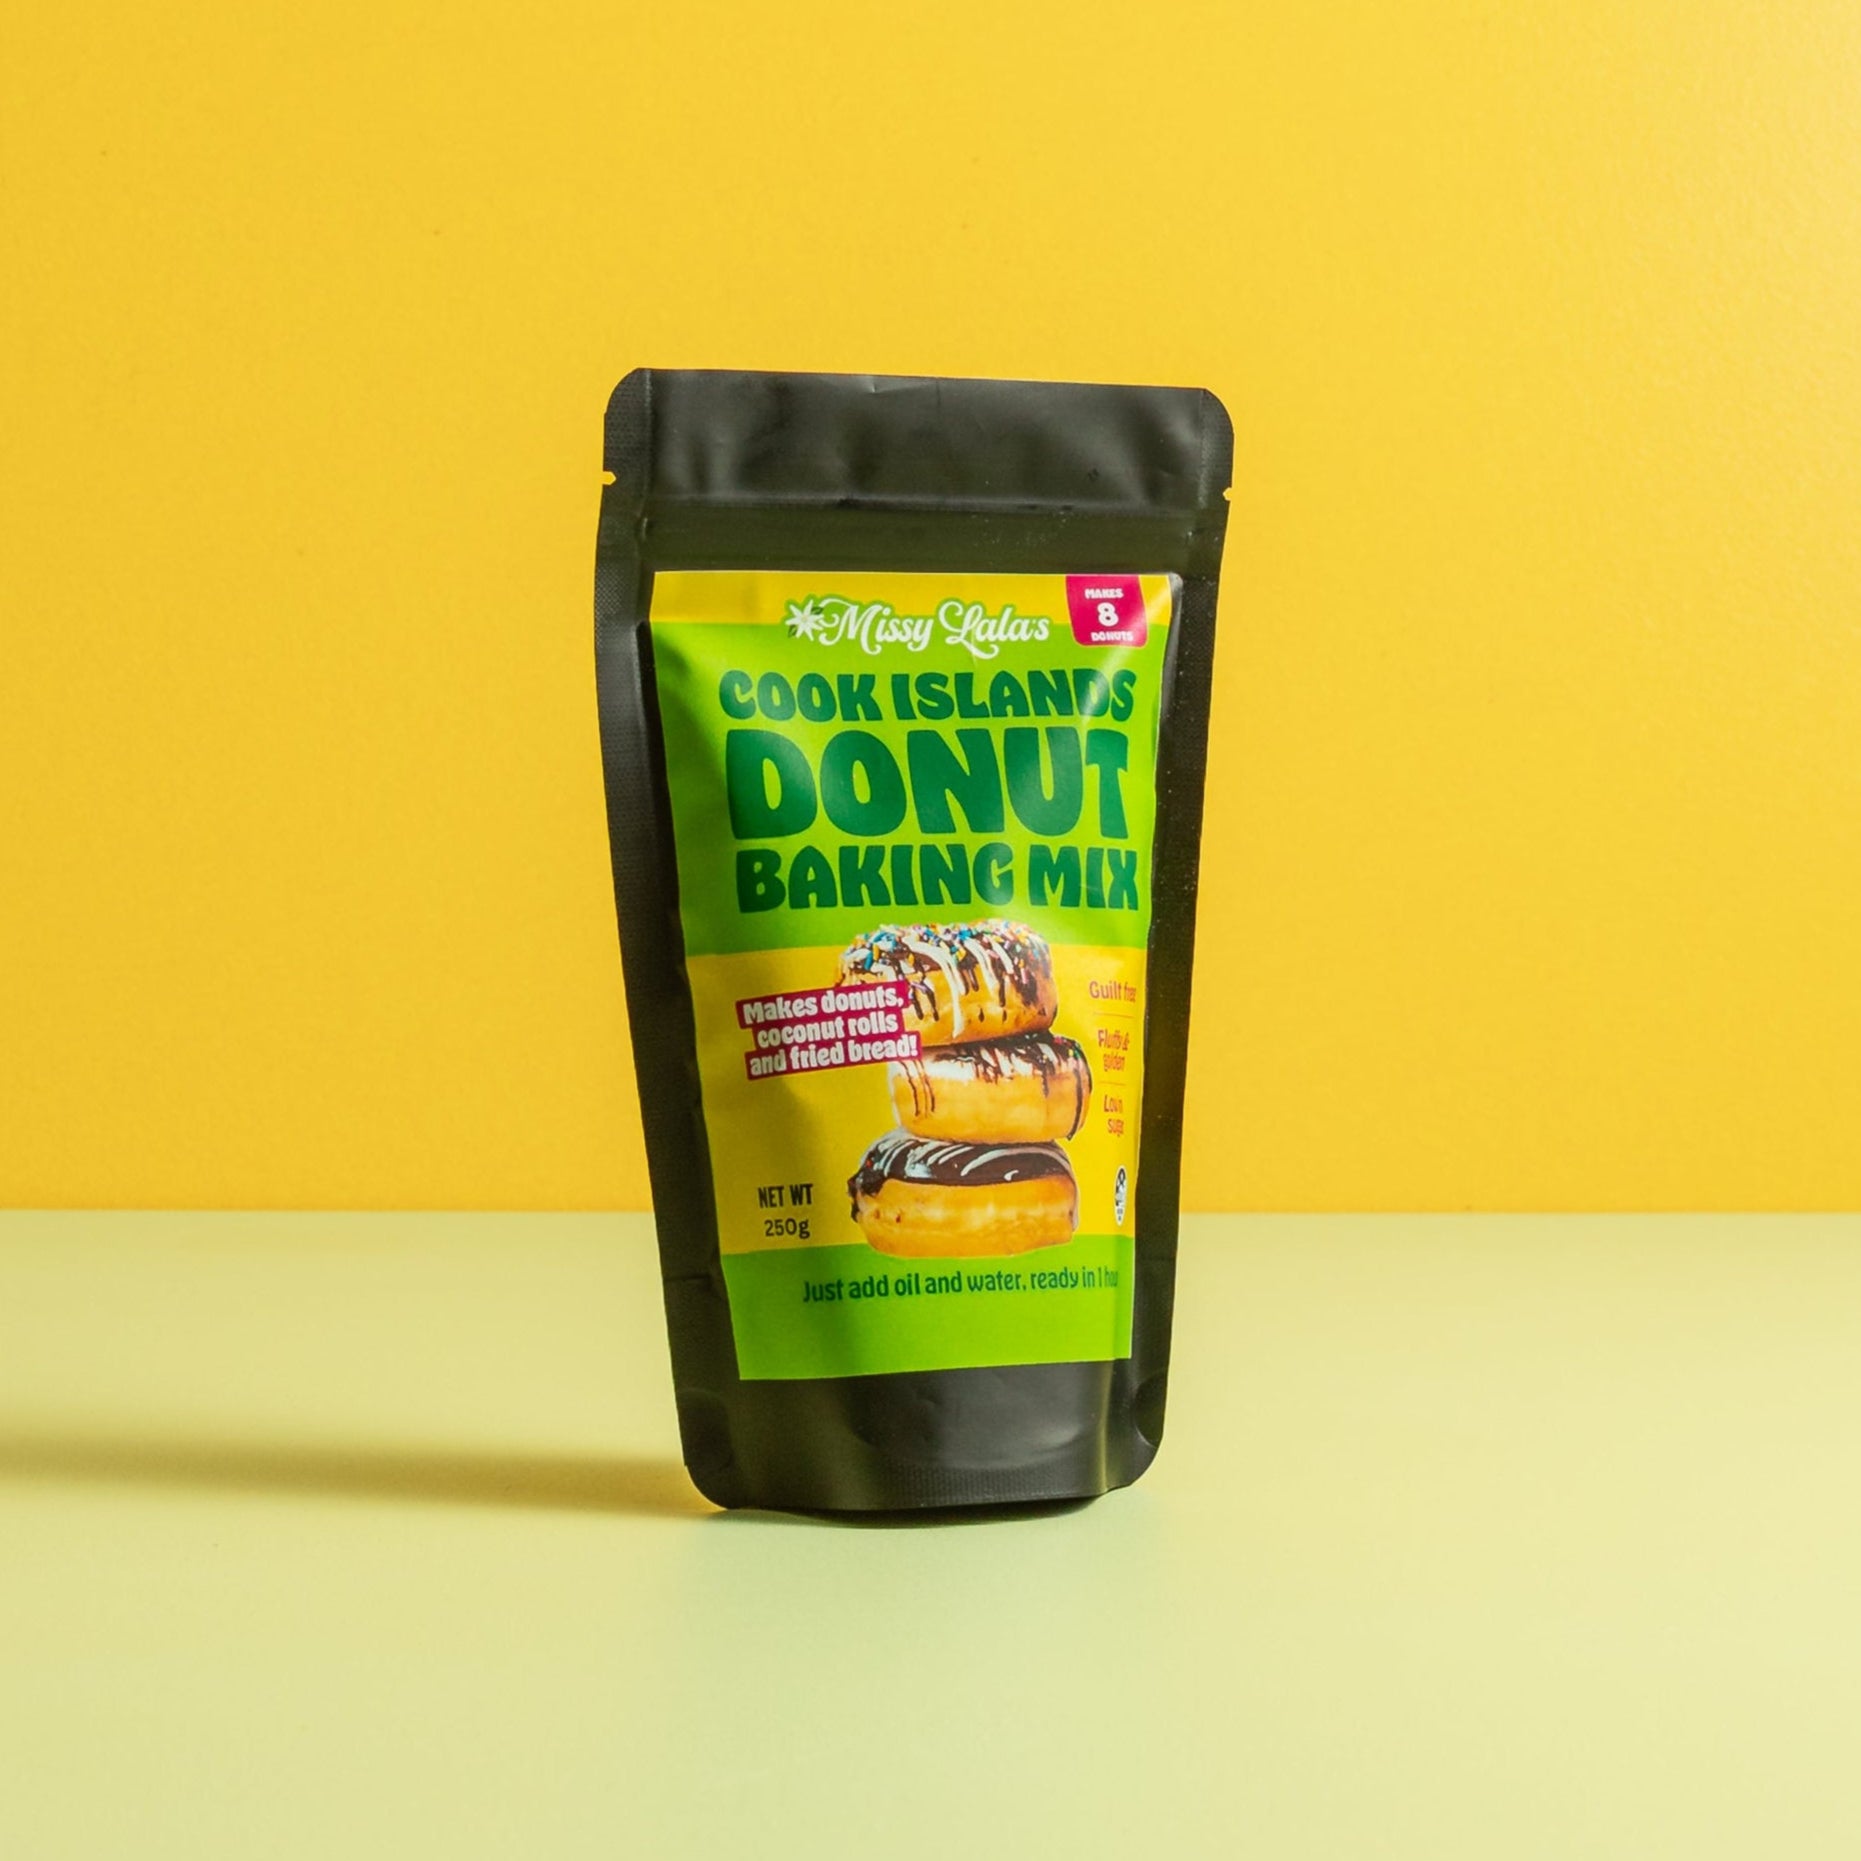
If measuring, proofing, and troubleshooting yeast sounds like more evening than you’ve got, Missy Lala’s Donut Baking Mix replaces the dough ingredient list entirely, needing only water and oil to get soft, authentic dough ready for filling.
The basic enriched dough recipe for filled donuts
This dough is the workhorse behind homemade jelly donuts, custard-filled classics, and pretty much anything you want to stuff. It’s enriched with egg, milk, and butter, which is what gives filled donuts that pillowy, slightly sweet crumb instead of a dense bread-roll texture.
Ingredients (makes 12 donuts):
- 500g strong bread flour
- 65g caster sugar
- 7g (2¼ tsp) instant yeast
- 8g salt
- 2 large eggs, room temperature
- 180ml whole milk, warmed to about 37°C
- 60g unsalted butter, softened and cubed
Combine flour, sugar, yeast, and salt in your mixer bowl. Add the eggs and warm milk, then mix on low with the dough hook for 2 minutes until it comes together. Add the butter a few cubes at a time, letting each addition incorporate before adding more. This staged approach stops the fat from just sitting on the surface of the dough.
Knead on medium speed for 8 to 10 minutes. You’re after the windowpane test: pull a small piece of dough and stretch it gently between your fingers. If it stretches thin enough to see light through without tearing, the gluten’s developed enough. Dough temperature should sit around 26 to 27°C when you’re done, warm enough for the yeast to work but not so warm it overproofs before shaping.
Cover the bowl and let it rise somewhere draught-free for 1 to 1.5 hours, until doubled. For better flavour and easier handling, Serious Eats recommends an overnight cold ferment instead. Pop the dough in the fridge after the first 30 minutes of room-temperature rise, then leave it for 12 to 18 hours. Cold dough is firmer and far easier to shape into neat rounds, and the slow fermentation deepens the flavour considerably.
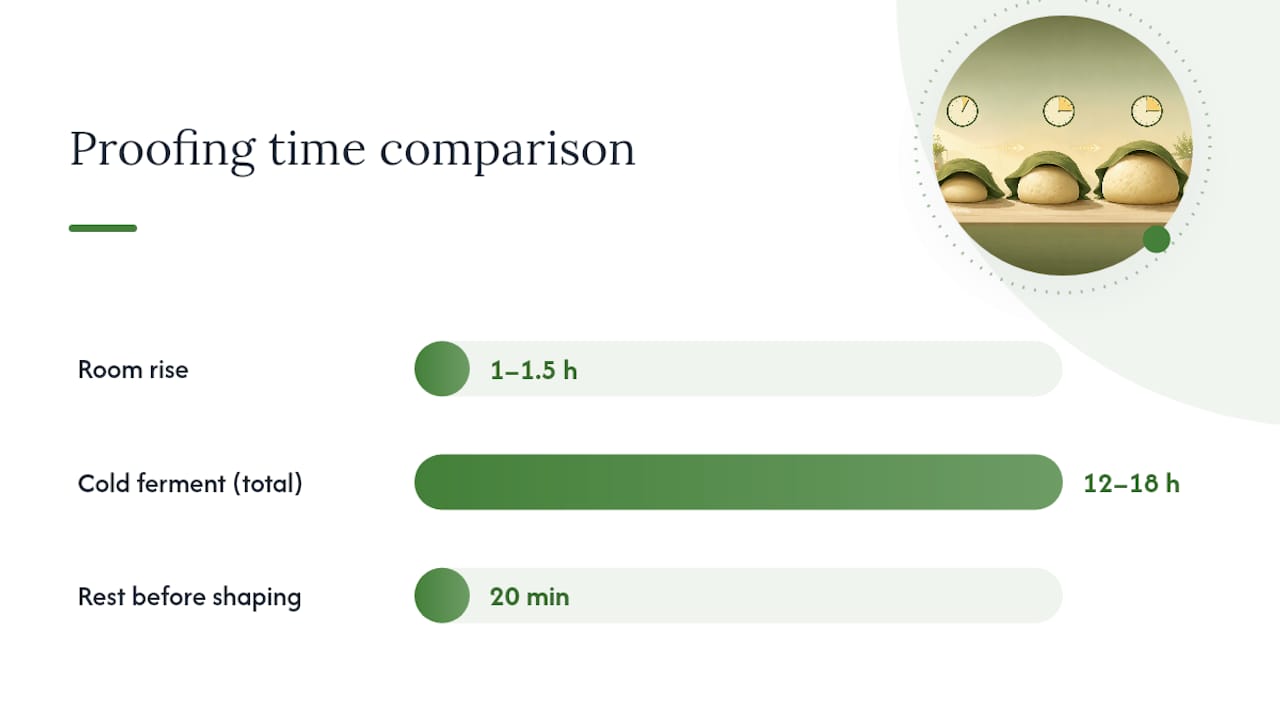
Pro Tip: If you’re using cold, overnight-proofed dough, let it sit at room temperature for 20 minutes before shaping. Straight-from-the-fridge dough is stiff and tears more easily when you’re portioning it.
How do you shape, proof and fry donuts?
Weigh your dough into 70 to 75g portions for standard-sized filled donuts. Consistent weights matter more here than they do for most baking, because uneven donuts fry unevenly, leaving some raw in the middle while others burn outside.
Roll each portion into a tight, smooth ball, tucking the seam underneath. Place each one on its own small square of baking paper, this makes them easy to pick up and drop straight into hot oil without deflating them. Space the rounds out on a tray, cover loosely with a tea towel or oiled cling film, and let them proof for 45 minutes to an hour.
You’ll know they’re ready when they’ve puffed up visibly and spring back slowly when you press a floured finger into the side. If the indent springs back instantly, they need more time. If it doesn’t spring back at all and looks like it might collapse, you’ve gone too far, fry them straight away and hope for the best.
Heat your oil to 175°C (350°F). No thermometer? Drop a small pinch of dough into the oil; it should sizzle immediately and rise to the surface within a few seconds without browning too fast.
- Fry 2 to 3 donuts at a time, don’t crowd the pot
- Cook 60 to 90 seconds per side, until deep golden brown
- Flip with a slotted spoon or chopsticks, once per side is enough
- Drain on a wire rack over paper towel, not stacked on a plate
Pro Tip: Toss fried donuts in caster sugar while they’re still warm, the residual heat helps the sugar stick evenly without going patchy.
Best fillings for donuts: custard, jam and whipped cream
Which filling you choose depends partly on when you’re filling. Food52 points out that some donuts are filled before frying, like fritters, and these need sturdier, stabilised fillings that can handle heat. Most classic filled donuts, including Berliners and jelly donuts, are filled after frying, which opens the door to lighter fillings like whipped custard.
-
Pastry cream (custard filling). Heat 500ml milk with a split vanilla pod until steaming. Whisk 4 egg yolks with 100g sugar and 40g cornstarch until pale. Temper by pouring the hot milk into the yolk mixture gradually, whisking constantly, then return everything to the pot. Cook over medium heat, stirring continuously, until it thickens to a glossy pudding consistency, about 3 to 4 minutes. Strain, cover with cling film touching the surface, and chill for at least 2 hours. This recipe fills around 12 donuts generously, roughly 2 tablespoons each. Zareflytrap’s custard method suggests reserving a quarter cup of the hot milk before combining, so you’ve got something to loosen the custard with later if it sets too firm.
-
Jam and preserves. Use thick, high-fruit-content preserves rather than runny jam. If yours is too loose, simmer it in a small saucepan for 5 minutes to reduce and thicken before filling, this stops it weeping through the donut and turning the crumb soggy.
-
Crème légère. This is pastry cream lightened by folding through whipped cream, and it’s what Serious Eats uses for its cream-filled doughnuts. Fold 200ml softly whipped cream into your chilled custard batch. Choose this over plain pastry cream when you want a filling that feels less dense, more like a Boston cream donut than a stodgy custard tart.
For a quicker option, warmed dark chocolate ganache or sweetened cream cheese both pipe well and pair nicely with a cinnamon sugar coating instead of plain caster sugar.
What’s the best tool for filling donuts?
Getting filling deep into the donut, not just near the surface, is the difference between a good filled donut and a great one. America’s Test Kitchen found that cutting a pocket and inserting the tip about ¾ inch into the donut distributes filling far more evenly than a shallow poke from the side.
Use a chopstick or the handle of a wooden spoon to create the pocket first, wiggling it gently to open up space inside without tearing through the crust. This matters because filling squeezed into a tight, unprepared cavity tends to push back out the hole rather than spreading through the donut.
- Piping bag with a Bismarck tip: the standard approach, gives you control over flow and pressure
- Cream injector: faster for big batches, good for thinner fillings like crème légère
- Ziploc bag hack: fill a sturdy sandwich bag, twist the top tight, snip one corner
Chowhound’s Ziploc method is a genuinely solid backup if you don’t own piping gear, it costs nothing and works almost as well.
Set up a filling station before you start: lay donuts pocket-side up on a tray so you can work through the whole batch without stopping to reposition each one. Insert the tip roughly ¾ inch deep and squeeze steadily until you feel slight resistance and the donut visibly plumps at the seam.
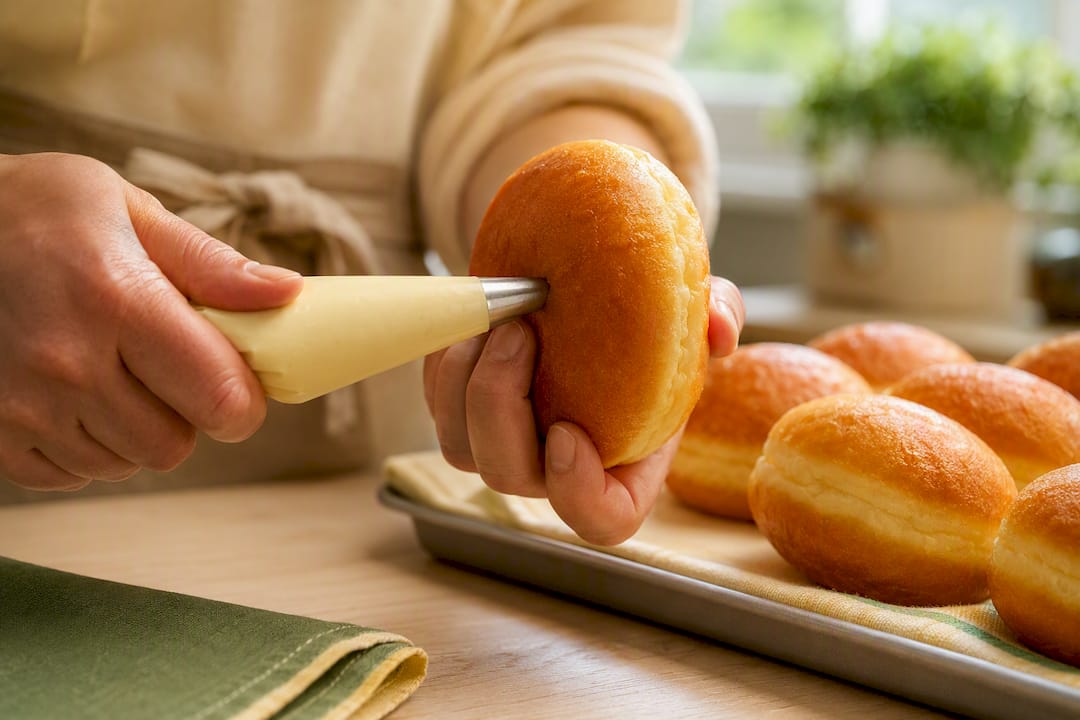
Pro Tip: Start with a smaller opening on your piping bag and enlarge it only if the filling won’t flow. A too-wide opening means you lose control and can blow the donut apart from the inside.
Common problems when making filled donuts (and fixes)
Most filled donut disasters trace back to one of three things: oil temperature, proofing time, or filling consistency.
- Greasy donuts: oil was too cool, below 165°C the dough absorbs oil instead of sealing quickly
- Pale, undercooked centres: oil was too hot, browning the outside before the inside cooks through
- Dense, tight crumb: underproofed, give the next batch an extra 15 to 20 minutes
- Collapsed or greasy after frying: overproofed, the structure couldn’t hold once it hit hot oil
- Soggy interior around the filling: usually runny jam or custard that wasn’t chilled fully before piping
If your custard turns out too thick after chilling, whisk in a splash of the reserved hot milk from earlier until it loosens to a pipeable consistency. If jam is too runny, a quick reduction on the stovetop with a squeeze of lemon juice thickens it in minutes without needing extra sugar.
Consistency across a batch comes down to a habit most home bakers skip: weighing dough portions on a kitchen scale rather than eyeballing them. A five-gram difference between donuts might not sound like much, but over a dozen, it’s the reason some fry perfectly while others come out dense or split.
How to store and reheat filled donuts
Filled donuts are at their best the day they’re made. Serious Eats and Food52 both note that donuts and their fillings hold up best eaten fresh, so fill just before serving whenever your schedule allows it.
- Custard or crème légère: refrigerate below 4°C and use within 3 to 4 days, egg-based fillings don’t keep as long as jam
- Jam-filled donuts: hold slightly longer in the fridge, 3 to 5 days, since sugar acts as a natural preservative
- Freezing: freeze the fried, unfilled donuts instead of finished ones. Thaw at room temperature, then fill fresh when you’re ready to serve
- Transport: keep filled donuts chilled in an insulated container until close to serving time, especially for warm-weather events
For more detail on shelf life and what actually happens to donuts overnight, Missy Lala’s guide on whether donuts stay fresh overnight is worth a read before you plan a make-ahead batch.
Who’s behind this guide and how Missy Lala helps
This guide was written by Jasmin, a contributor at Missy Lala focused on practical, testable baking instructions for home kitchens. The techniques here draw on established methods from professional recipe developers, adapted for readers baking without commercial equipment.
Some donut baking mixes are built around a simple idea: you shouldn’t need a stand mixer, a proofing drawer, or a decade of baking experience to get soft, authentic donuts on the table. Just water and oil replace the full ingredient list, and the dough is ready for shaping in a fraction of the time.
If you want to go deeper on technique before your next batch, the Missy Lala blog covers how donuts are made at home and how to improve a box mix for bakery-style results every time.
Why filling your own donuts is worth the effort
There’s a particular kind of satisfaction in pulling a tray of warm donuts out of the kitchen and watching family members go quiet because their mouths are full. That’s really the whole point of this. It’s not about matching a bakery gram for gram, it’s about the smell filling the kitchen and everyone hovering nearby before the sugar’s even cooled.
Hand out jobs if you’re baking with kids or a partner: someone rolls dough balls, someone manages the fryer (with supervision if they’re young), someone’s on filling duty. Don’t be precious about sticking to one filling either. Once you’ve got the base custard down, swap in different jams, add citrus zest, or fold through a spoonful of Nutella. Half the fun is seeing which combination disappears first.
— Jasmin
Skip the measuring with Missy Lala’s donut mix
Some mixes offer a shortcut for families who want the payoff of homemade filled donuts without weighing out seven dough ingredients on a school night. Where the from-scratch method demands a thermometer, a windowpane test, and a couple of hours of proofing, the mix needs only water and oil, and gets you to the filling stage in under an hour.
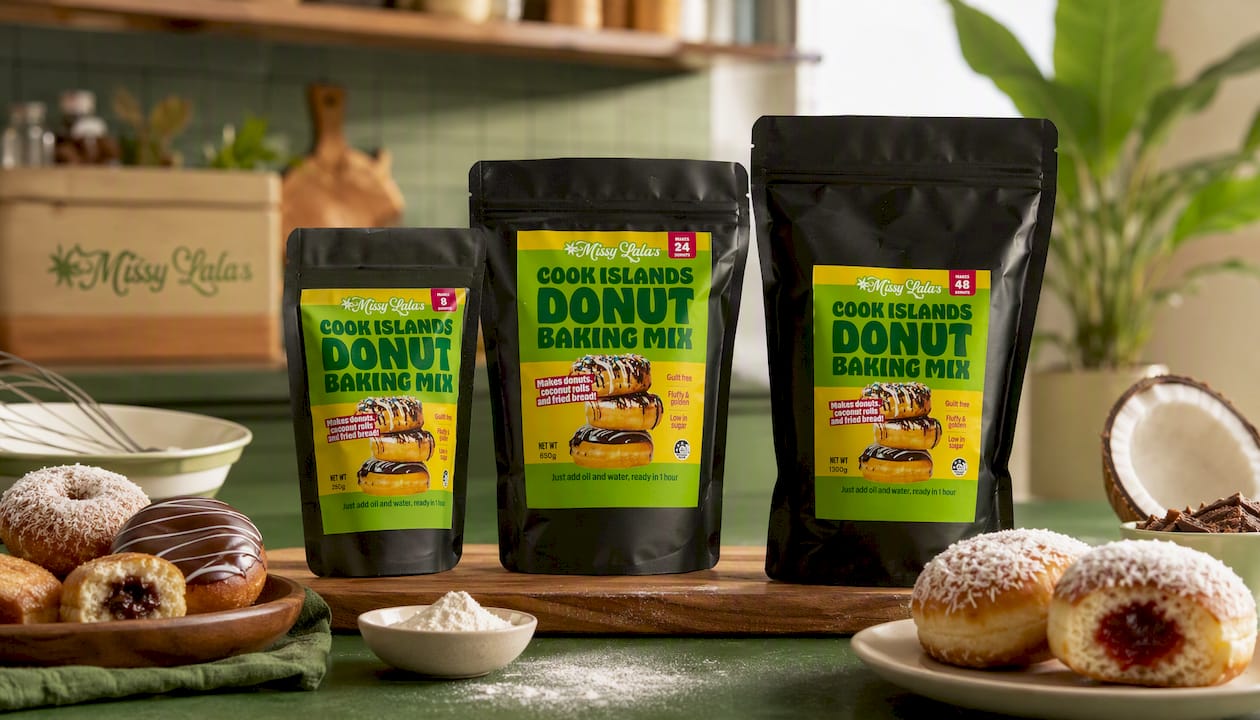
Pick your size based on who’s eating. The 250g mix suits a trial batch or a single family dessert night. Step up to the 650g mix for a full dozen plus extras, ideal for weekend baking with the kids. If you’re catering a birthday, church gathering, or fundraiser, the 1300g mix covers a much bigger crowd without you doing the maths twice.
Every size works with the same filling recipes and techniques covered above, custard, jam, or crème légère all pipe into mix-based donuts exactly as they would into scratch-made dough. Browse the full donut mix collection and pick your size before your next baking day.
Where this guide’s techniques come from
The dough and filling methods here lean on a handful of recipe sources that consistently deliver reliable results for home bakers. Serious Eats’ cream-filled doughnut recipe informed both the crème légère technique and the case for an overnight cold ferment on the dough.
Food52’s guide to filling doughnuts shaped the distinction between fillings that need to go in before frying versus after. America’s Test Kitchen’s filling tips are behind the pocket-cutting and deep-insertion technique that gets more filling into every donut, and consistently more of it, than a shallow squeeze from the side.
Sources
- Homemade cream-filled doughnuts (Serious Eats)
- If you want to fill doughnuts with jam, pastry cream, apples… read this (Food52)
- Tips for putting more filling into filled doughnuts (America’s Test Kitchen)
- Custard recipe for donut filling (Zareflytrap)
- How to fill a donut (without a piping bag) (Chowhound)
FAQ
What can I use to fill donuts?
Custard (pastry cream), jam or preserves, crème légère, chocolate ganache, and sweetened cream cheese are the most reliable options. Choose custard or crème légère for a Boston cream style, and thick jam for a classic jelly donut.
What does Krispy Kreme fill their donuts with?
Krispy Kreme uses proprietary fillings including a Kreme filling, custard, and fruit varieties, but the exact recipes aren’t publicly published. You can recreate a similar effect at home with a whipped crème légère for the lighter fillings or a classic pastry cream for the denser ones.
What is the best tool for filling donuts?
A piping bag fitted with a Bismarck tip gives the most control, while a cream injector speeds things up for larger batches. Either way, cutting a pocket first and inserting the tip about ¾ inch deep gets filling distributed evenly rather than pooling near the surface.
What are some ways to fill a donut without a piping bag?
A sturdy Ziploc or sandwich bag works well: fill it, twist the top tight, and snip a small corner to pipe through. Use a chopstick first to create the internal pocket, then squeeze the filling in slowly and steadily.
Can I use Missy Lala’s mix for filled donuts?
Yes. Missy Lala’s Cook Islands Donut Baking Mix produces dough ready for shaping and frying, and it works with the same custard, jam, and cream filling recipes and techniques used with a from-scratch dough.


